
VIDEOS RULE WHEN IT COMES TO ENGAGEMENT
My Instagram account grew really slooooly until I did one thing: I started filming and posting calligraphy VIDEOS
Once I did that, my videos started getting shared and I got a flood of new followers, along with some high-profile press.
Now that was back in 2016, when lettering videos were first starting to become popular. But that doesn’t mean videos are any less relevant now, in 2019.
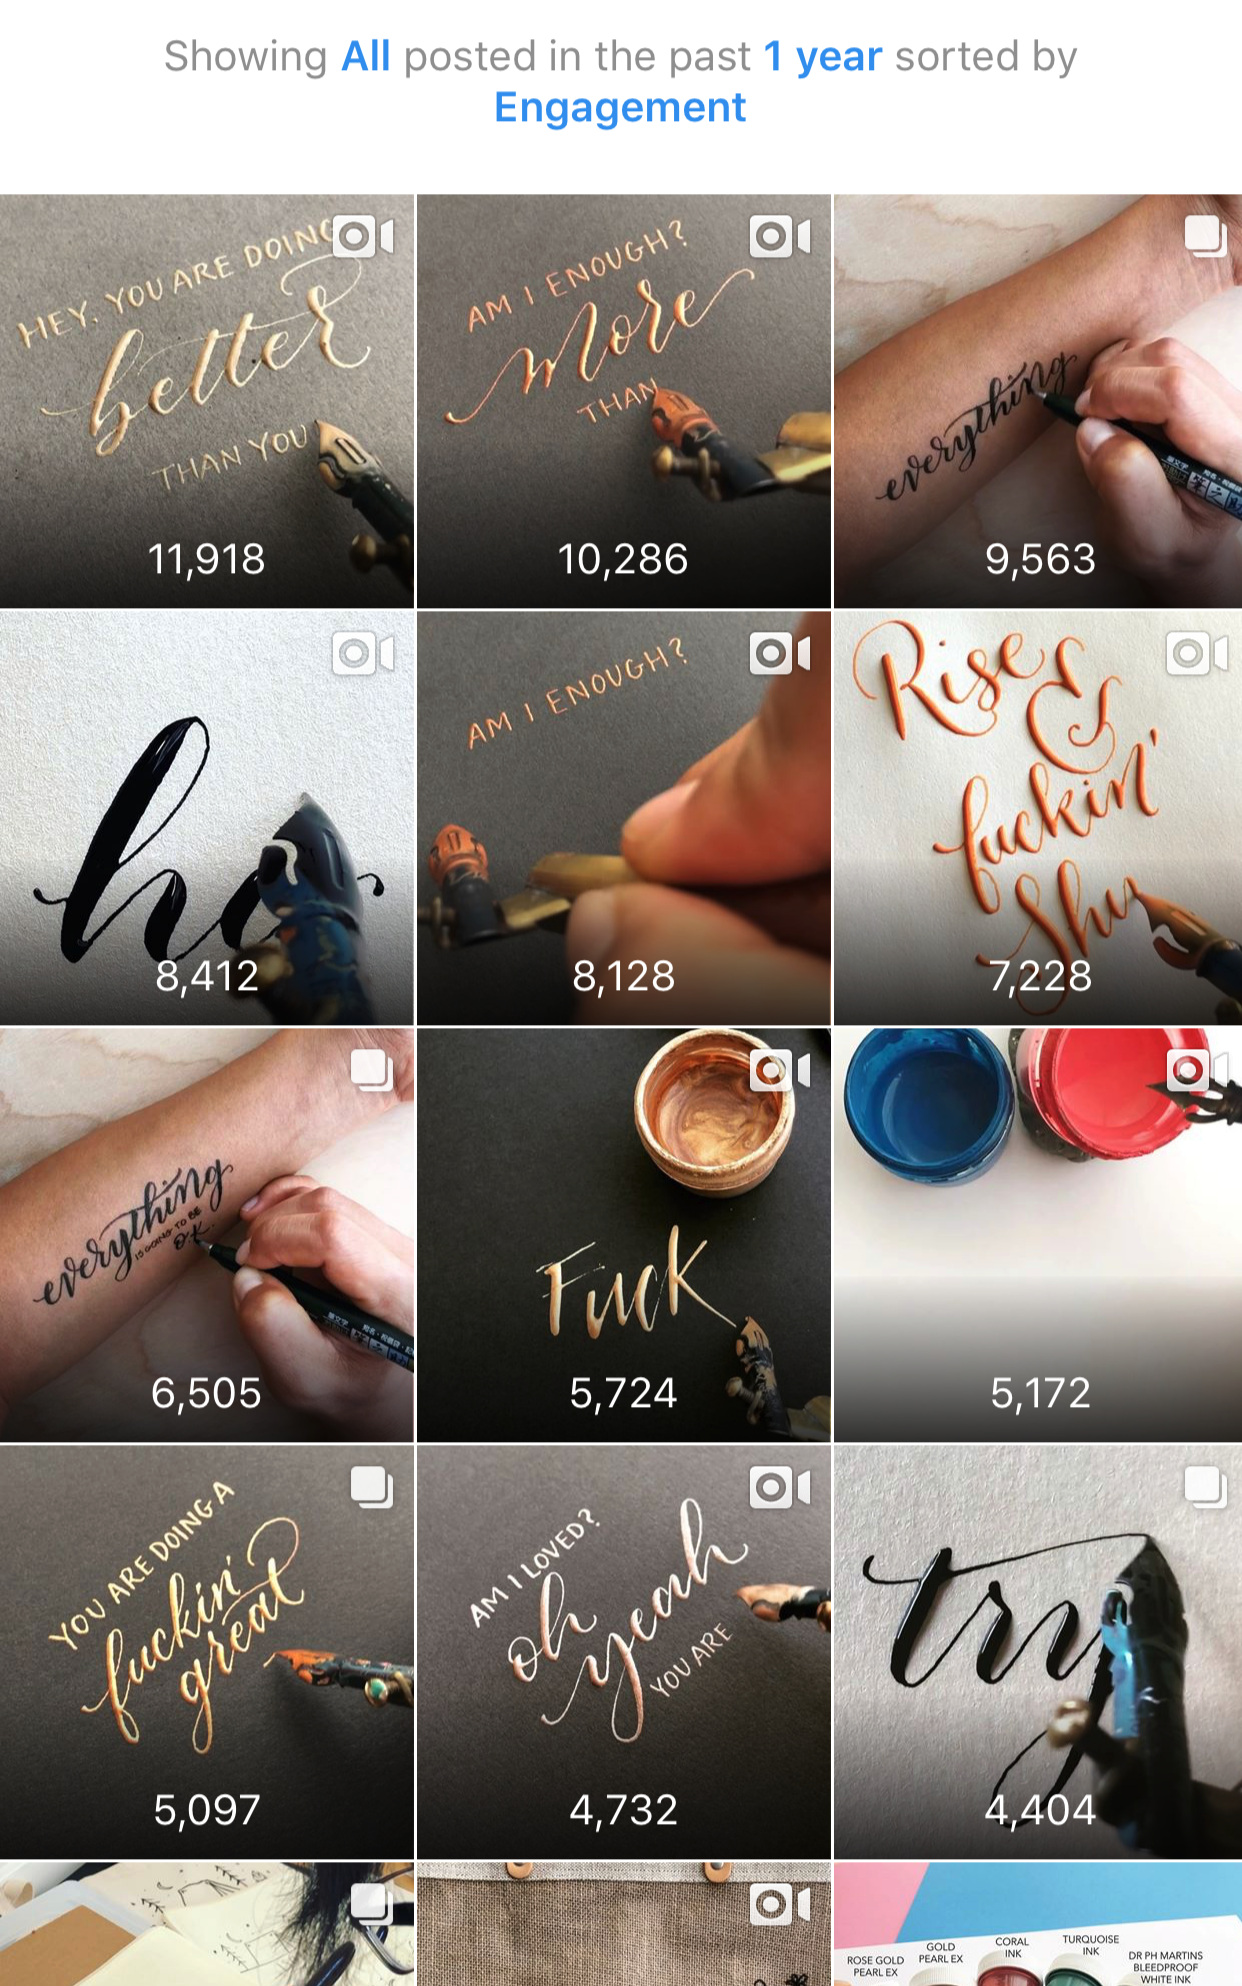
To this day, my posts with the highest engagement are ALL videos. See my top 14 posts to the right? Every single one is a video.
The good news is, it doesn’t take expensive, professional equipment to film a high-quality calligraphy video. All it takes is your smartphone, good lighting, a mini-tripod and some key editing apps.
Let’s break it down.
PSSST… WANNA SEE A VIDEO TUTORIAL?
CLICK HERE TO WATCH A LIVE TUTORIAL I DID ON THE @CALLIGRAPHERSOFCOLOR INSTAGRAM PAGE!
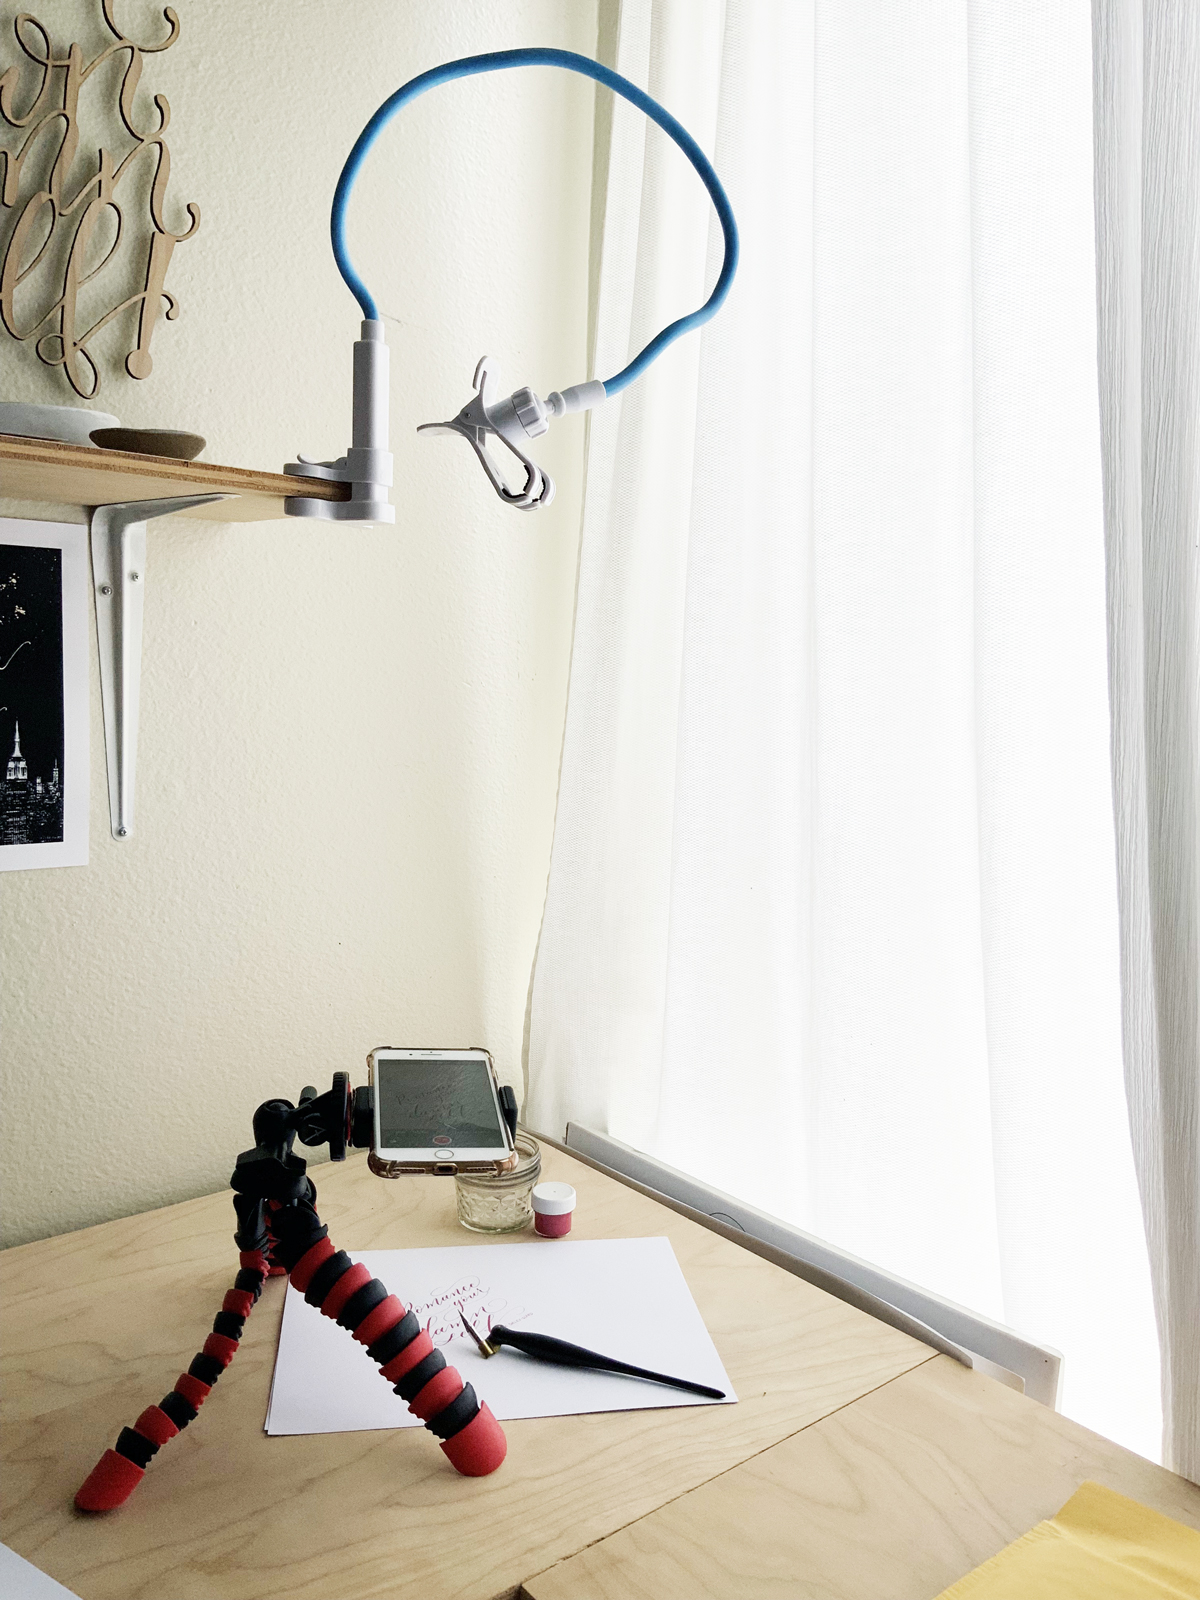
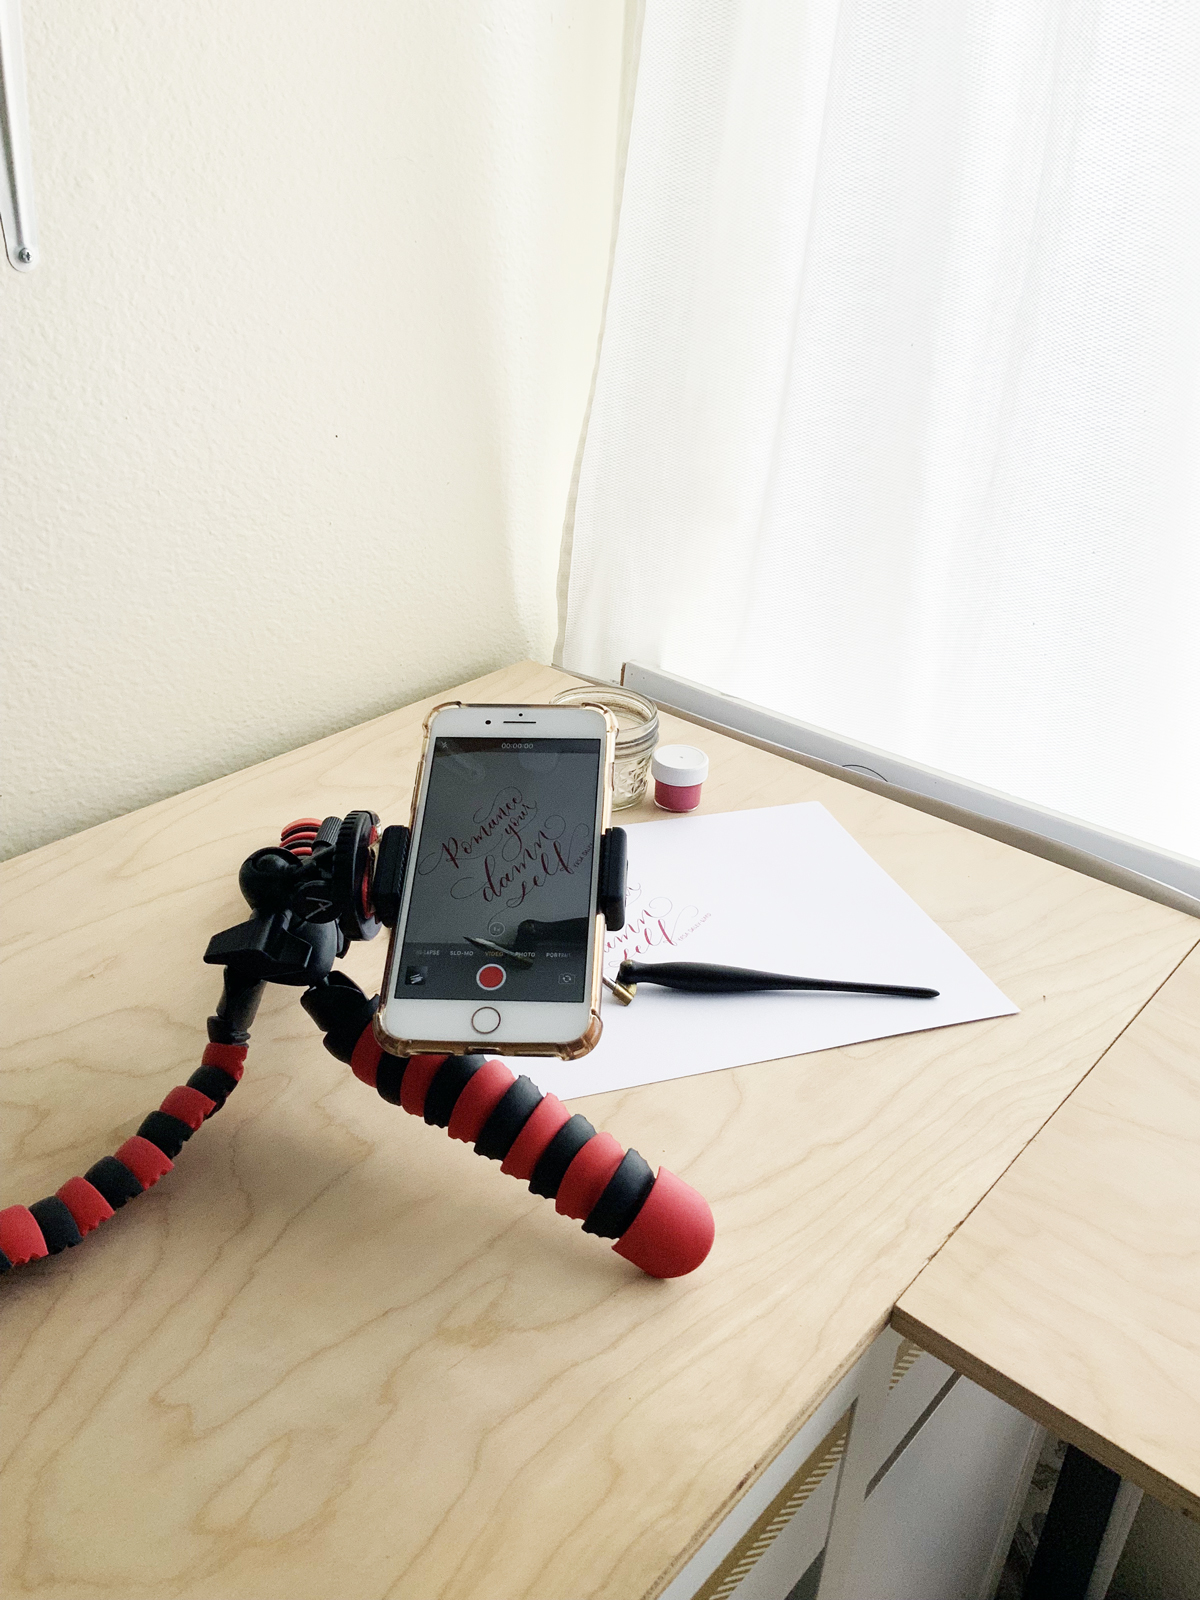
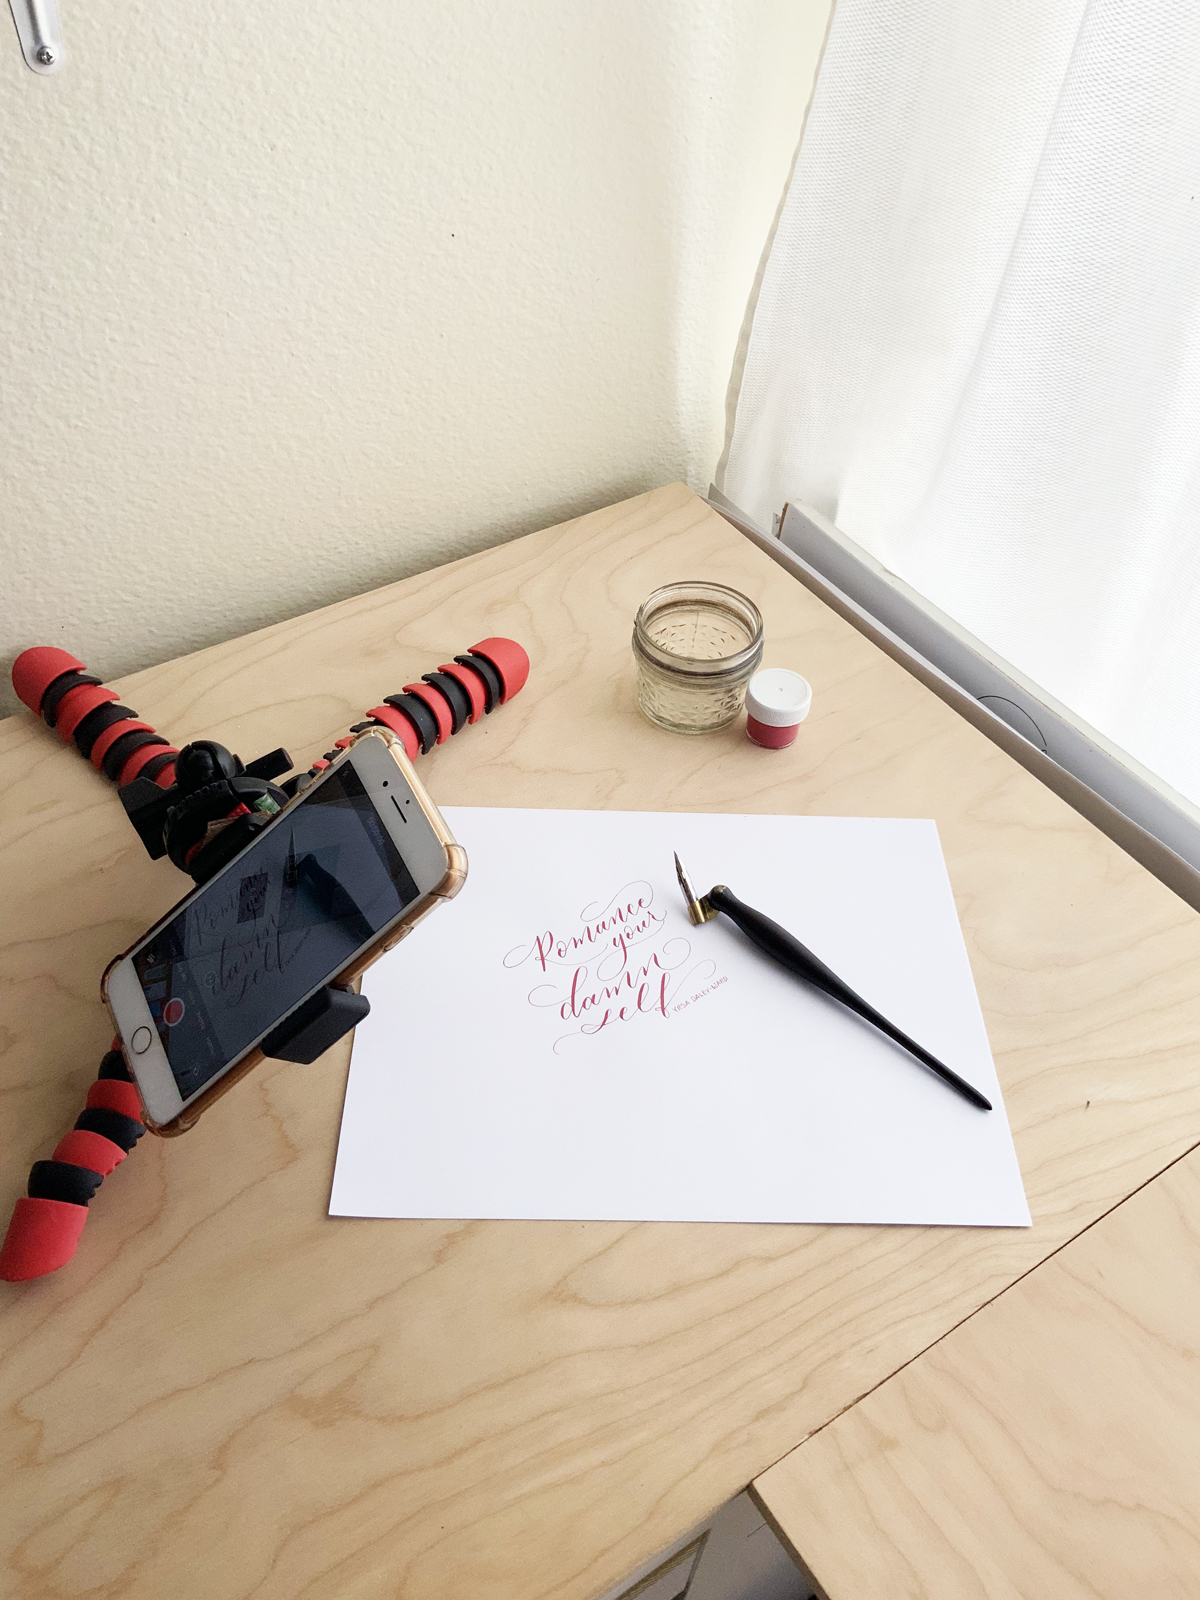
STEP 1: Find a spot with diffused natural lighting.

I always film my calligraphy videos in this corner of my office.
Why? Because it has NATURAL LIGHT coming in from the window right next to it, that’s DIFFUSED by the white curtain fabric.
You’ll get the best quality from natural light, so if you can’t film during the day for whatever reason, maybe try to film a bunch of videos on one weekend day.
Or, if you can’t film during the day at all, you can buy two lamps with “daylight” temperature bulbs in them and position them on either side of your writing area, so they cancel out each other’s shadows. This will never be as good as natural lighting, but you can get pretty decent quality by editing your videos properly (we’ll discuss that later).
You don’t want harsh, DIRECT sunlight, because that will cast weird shadows.
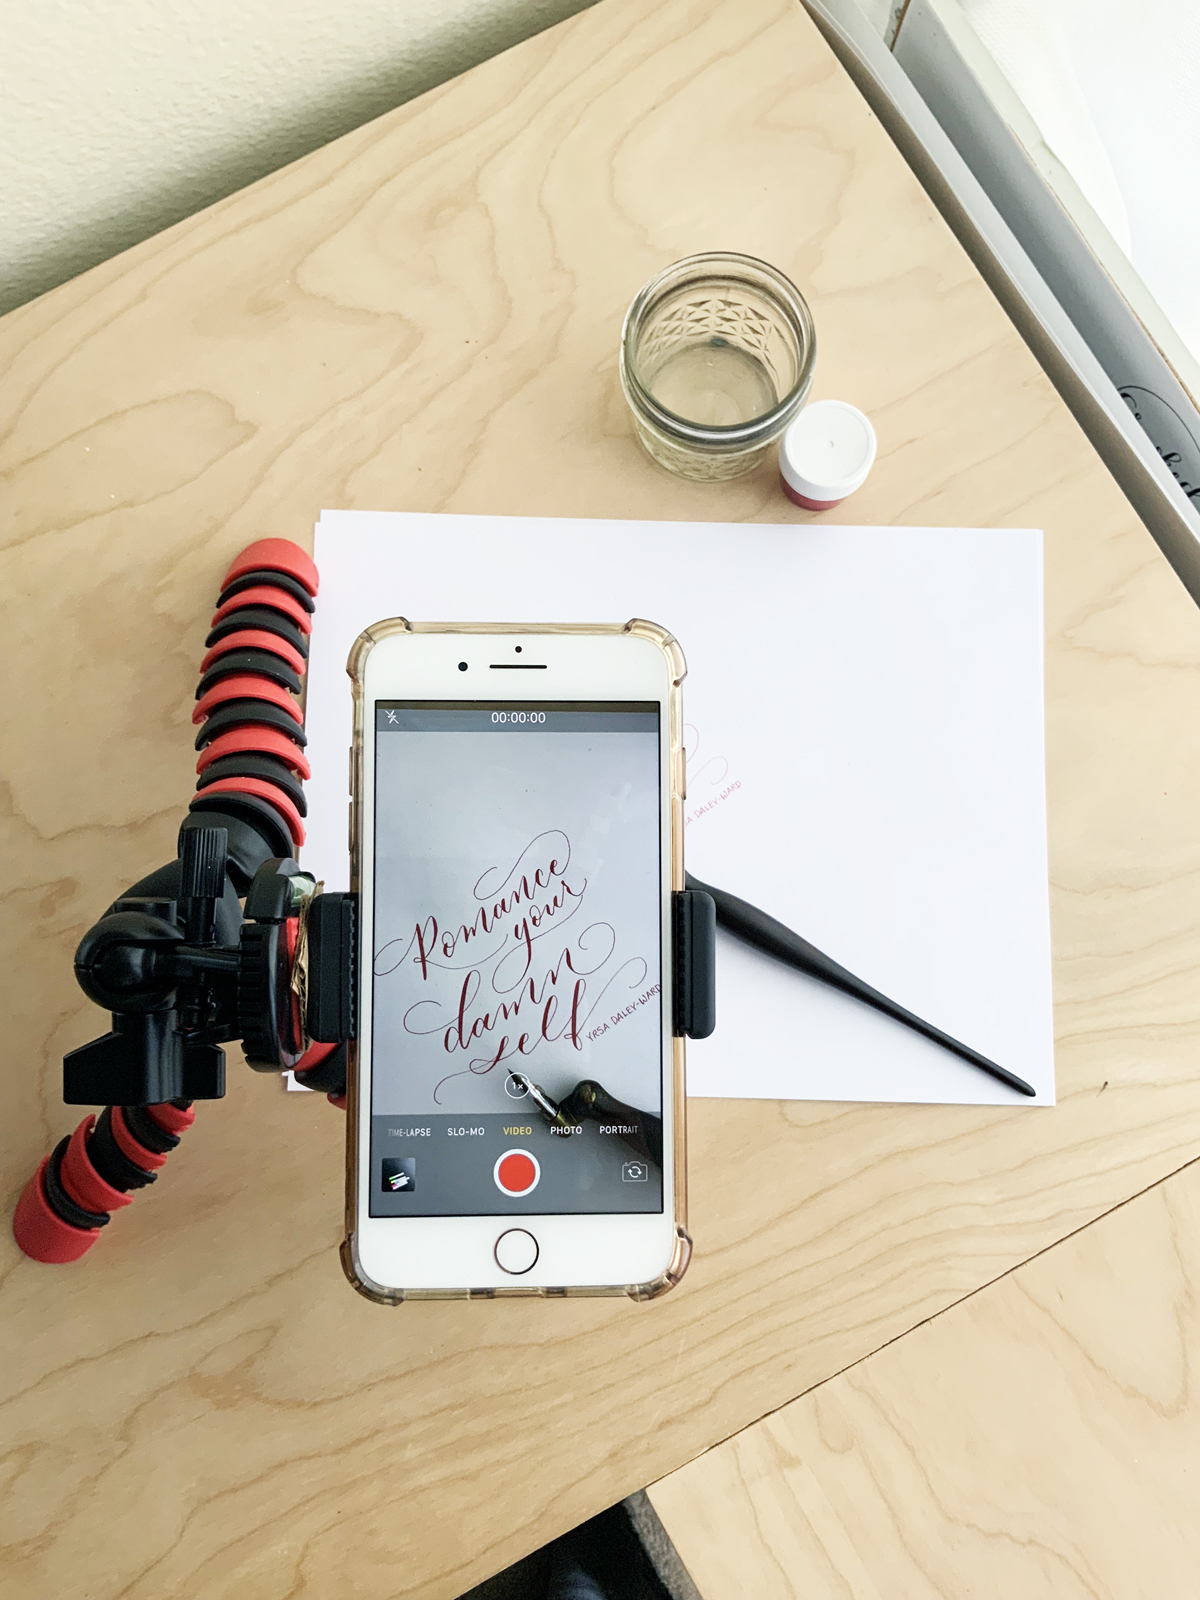
STEP 2: POSITION YOUR PHONE ON A STURDY MINI-TRIPOD
I bought this tripod off Amazon for about $13. (psst, that’s an affiliate link so I get a tiny commission when you purchase through it.)
It’s sturdy and has big, flexible legs so I can position my phone in different ways to capture different angles:
TOP DOWN
SLIGHTLY DIAGONAL

SIDE CLOSE-UP

I also have a long gooseneck phone holder (again, off Amazon) that can clamp onto a shelf or surface to get more wide, overhead shots. This one is nice because there’s no tripod legs to get in the way of your writing. But it’s a little more difficult to position super close to your writing surface (and it wobbles at the slightest touch, so you have to avoid that during filming).
OVERHEAD


STEP 3: FILM YOUR VIDEO
Okay this one’s harder than it looks.
Before you start, please know that even I take at least 2-5 tries before getting a video I like. And that’s after three years of making videos. In the beginning, I would often try a dozen times, getting more and more frustrated with each failed attempt.
So, here’s some advice:
Do a few practice runs first. Especially if you’re new to filming, do some practice sketches so you have an idea of how your lettering will be laid out. That way, when you start to film, you feel more confident.
Get in a good writing position. Try and position your phone and tripod so that you’re in a comfortable, natural writing position. If you have to contort your body, or stand at a weird angle, then there’s a greater chance that your calligraphy will look off and uneven.
Go slow. Remember that you’ll have the chance to speed up your video afterward, so don’t feel like you have to rush.
Keep the camera rolling. Even if you mess up, just keep the camera running and try again. That way, you get used to the camera being there and you can relax and get more into the flow.
Try switching it up. If your video just isn’t looking right even after lots of tries, try changing things up. Maybe your gold ink on black paper just isn’t working in the lighting you have. Switch it to black ink on gray paper and that might look better. Or switch the angle of your phone slightly. A little adjustment might make all the difference.
STEP 4: EDIT YOUR VIDEO
Here’s a dirty little secret - MOST calligraphy videos you see online are sped up. Unless you’re writing just 1-2 words, you usually have to speed the video up a touch to get it under 1 minute long.
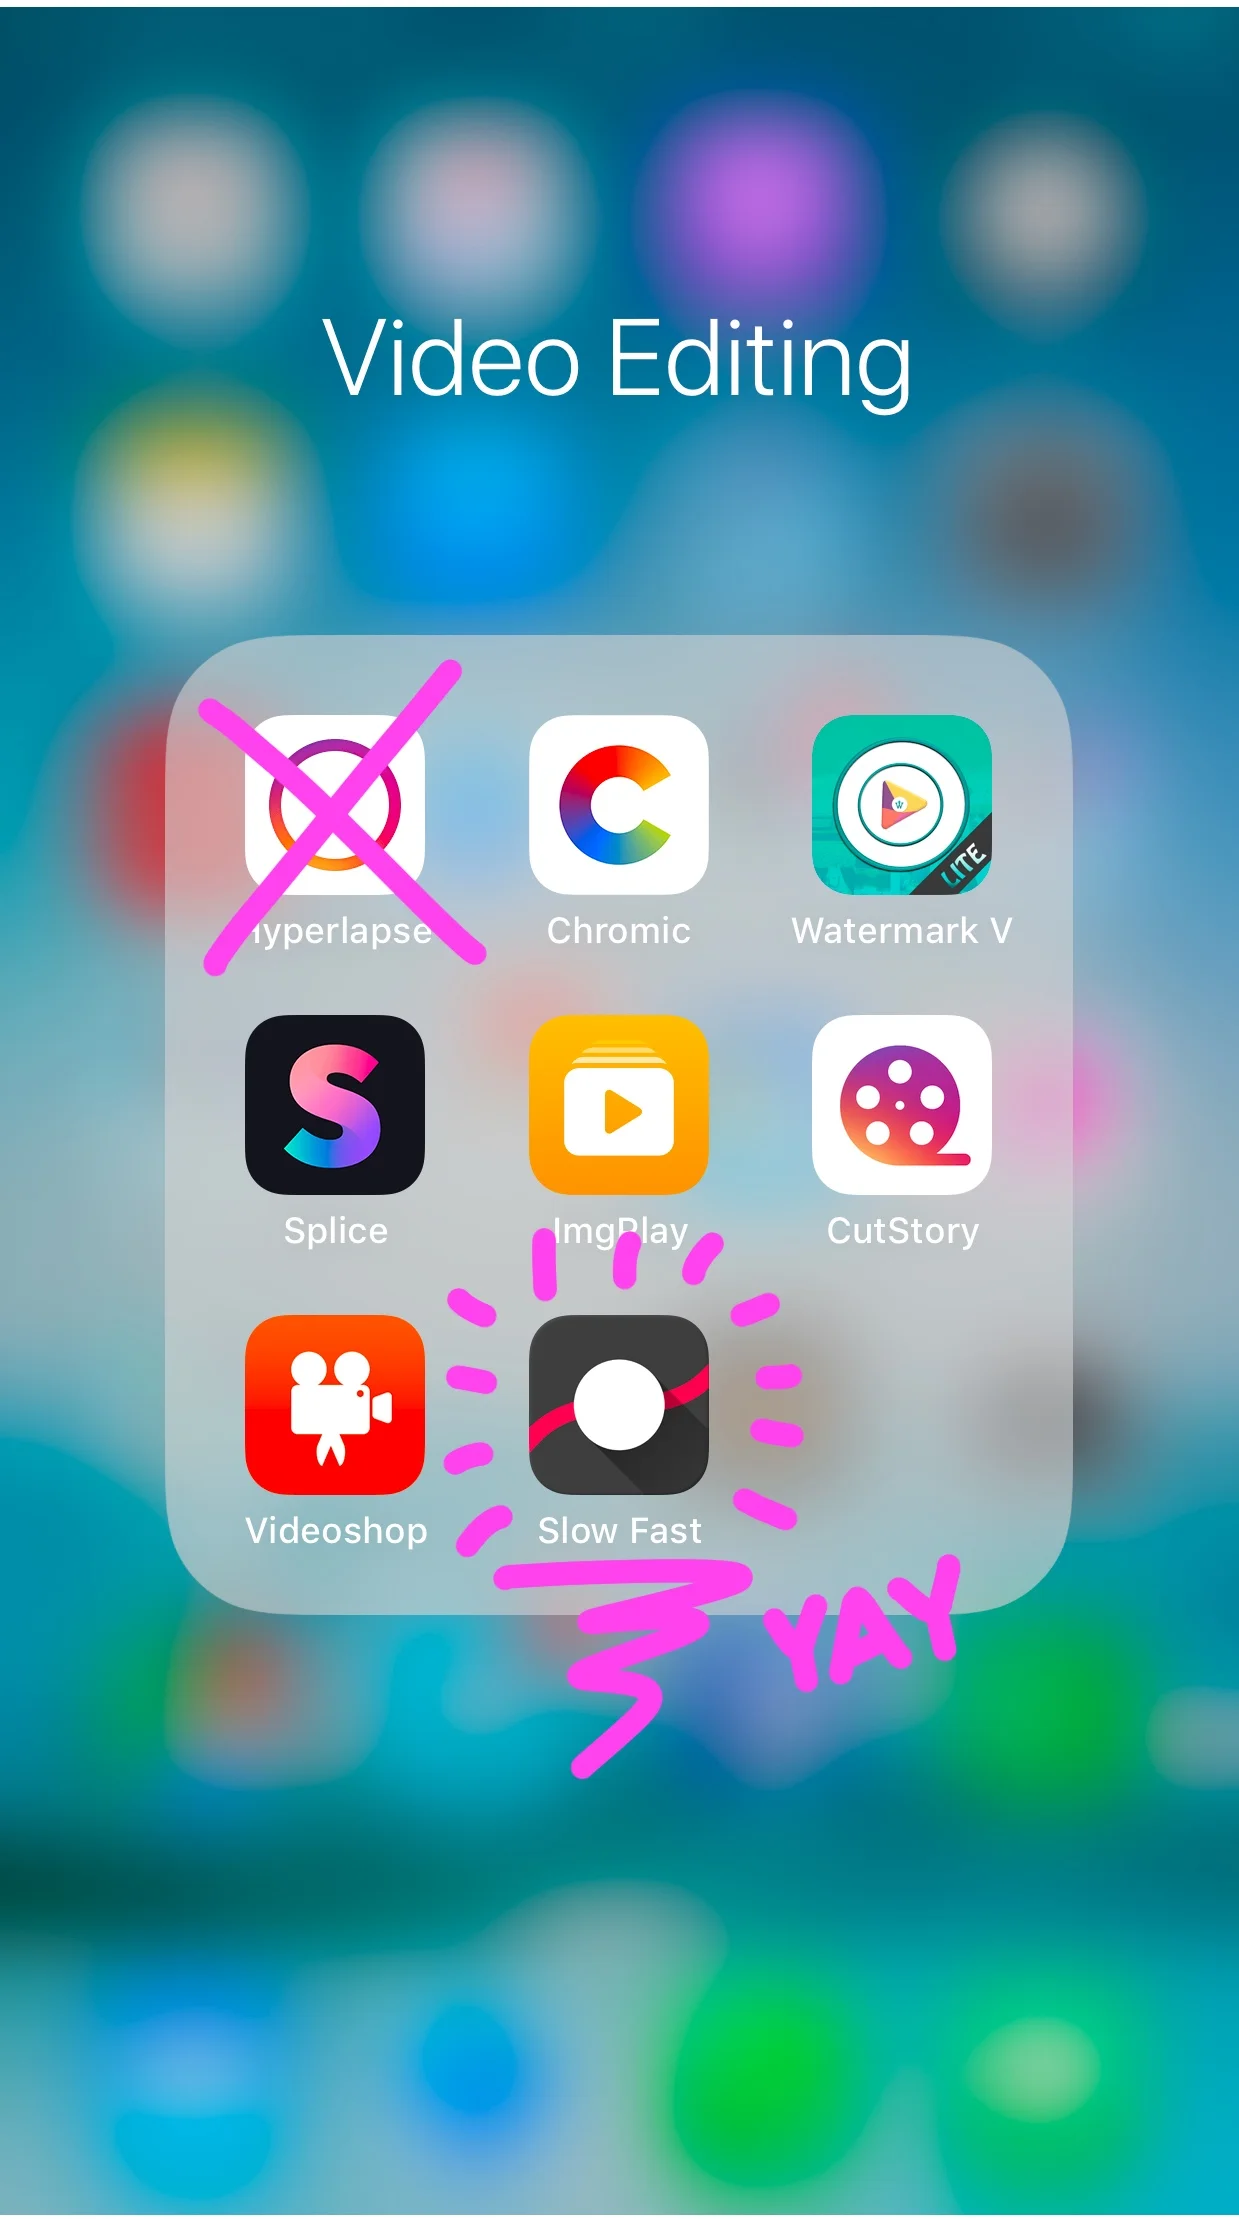
SPEED - My favorite app for speeding up/slowing down video is “Slow Fast”. It lets you increase speed to 8x and you can control what parts of the video you want sped up and what parts you want to keep at normal speed (it’s wayyy better than the “Hyperlapse” app)
BRIGHTNESS - I like “A Color Story” for brightening and correcting any yellow or blue color tones in my videos. Sometimes, I also add in a little bit of the built-in Instagram filters (usually Clarendon or Juno)
TRIMMING/STITCHING - I like to trim and stitch together videos within Instagram itself.


UPDATE (JUNE 10, 2020):
Perfect Video is the app I use now to do all my video editing.
It’s available for iPhones, is fairly inexpensive and can do everything from trimming, brightening, speeding up to 20x… It’s the best video editing app I’ve found so far!
LINKS TO THE TOOLS
You can find links to all the tools I use to film calligraphy videos in my Amazon shop!
(psst.. I get a small commission when you purchase through this link)

And that’s it!
If you’re looking to boost the reach and engagement of your lettering Instagram account, creating videos is the number one thing I recommend doing.
Videos definitely take more work than still photos, and you don’t have to post them all the time. But, when you do, you’ll be surprised by how much people love them. So give it a try and let me know if this post has been helpful!


WANNA KNOW THE EXACT TOOLS I USE?
Don't waste your time and money buying the wrong calligraphy shit!
Enter your info below to join my calligraphy learning email list - as a bonus, you'll get a FREE PDF of my favorite pens, nibs, inks and papers - with CLICKABLE LINKS - so you have all the info you need to get started right.
You’ll also get my “Crooked Wednesdays” emails, filled with with calligraphy tips, freebies, and special discounts for my online courses!