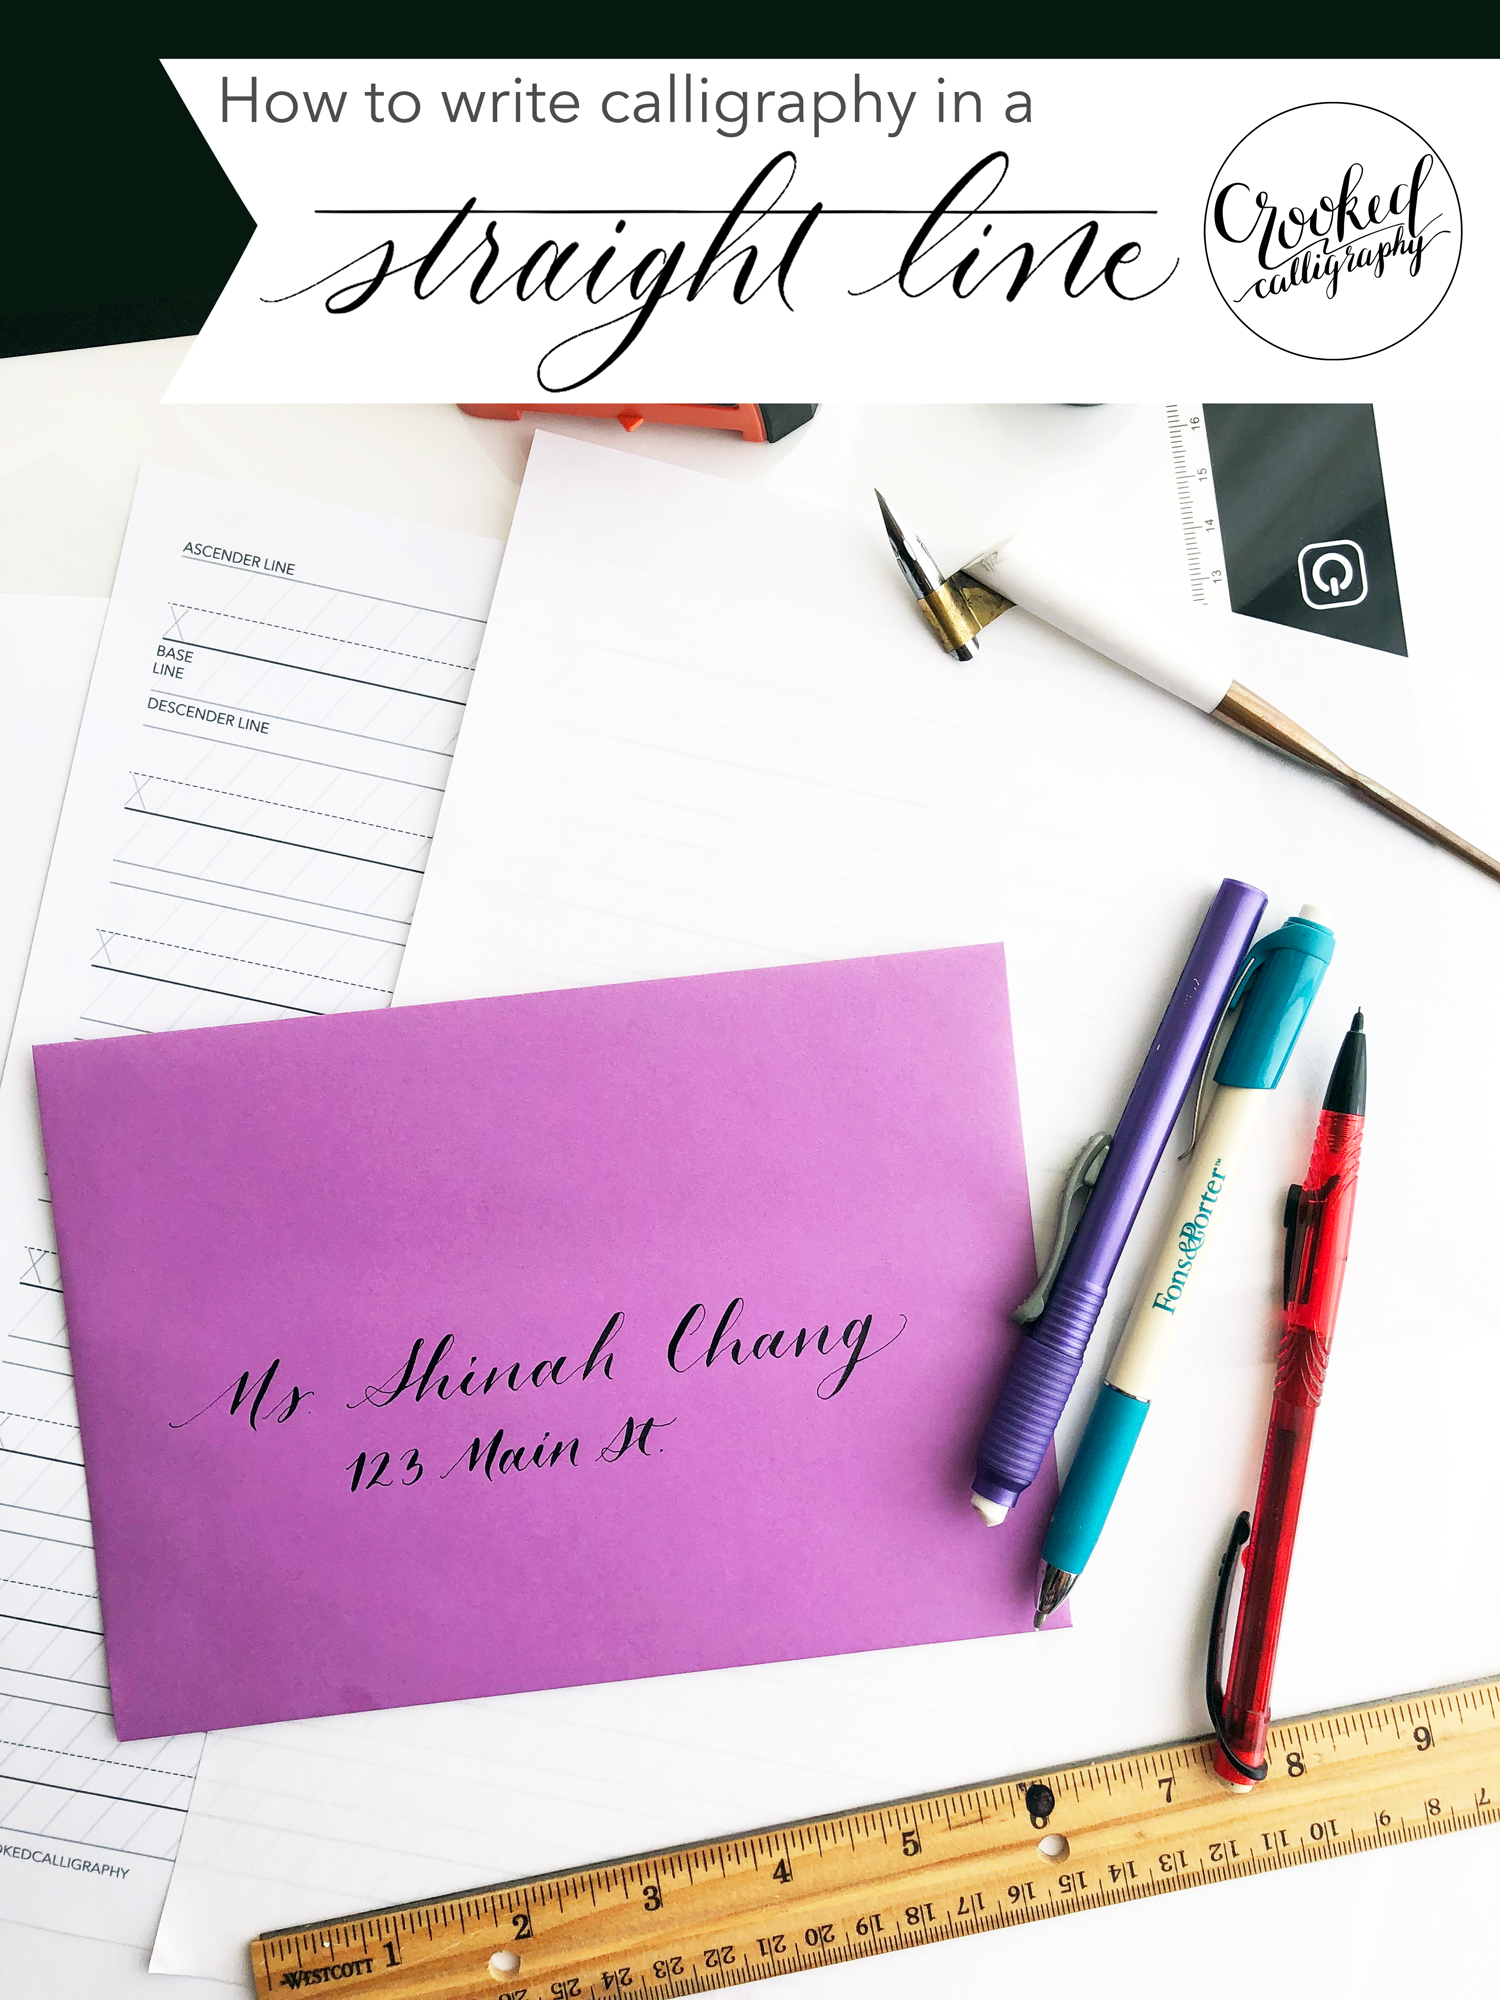
Writing calligraphy in a straight line is SUPER HARD - can I get an amen?
So I’ve put together my favorite tips and tools to help you do it!
You can click below to watch the VIDEO TUTORIAL, or keep reading for just the highlights.
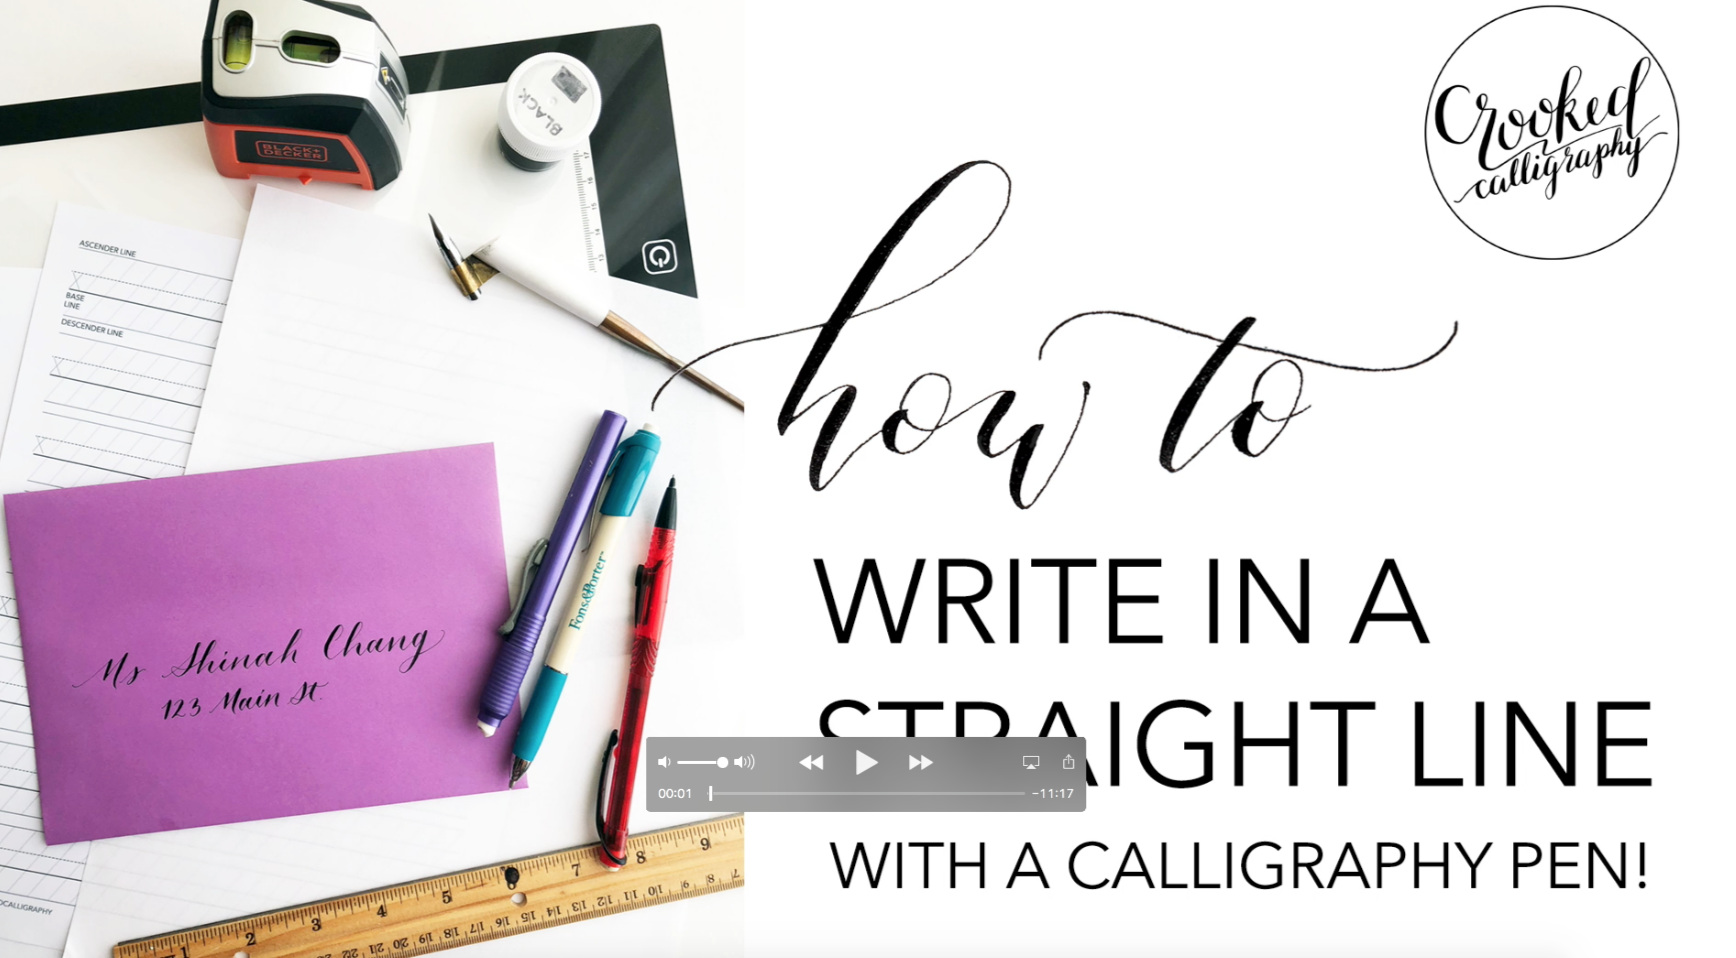
CLICKABLE TOOLS LIST + GUIDELINE SHEET
I put all the tools I recommend in this video into an easy, clickable guide - so you know exactly where to buy them! It also has a free calligraphy guideline sheet included, so you can get perfectly straight, consistent calligraphy.
This guide is a part of my FREE CALLIGRAPHY RESOURCE LIBRARY!
Just enter your email below and you’ll get an email with the PASSWORD so you can access all the free goodies inside ;)
Here are the FIVE TIPS AND TOOLS to help you write on a straight line!
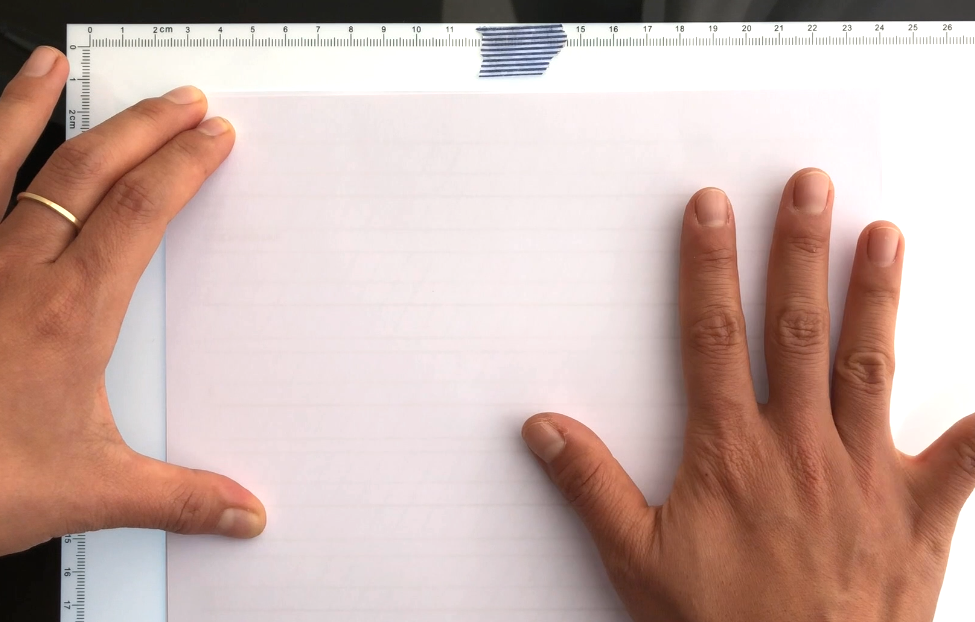
1. DRAW IN PENCIL LINES

I mean, DUH. But here are some tips anyway:
Use a regular mechanical pencil and a ruler to measure and mark out the baselines you want to write on.
Make sure to wait AT LEAST AN HOUR before trying to erase the pencil guidelines (I’m speaking from experience here…)
For dark paper where it’s hard to see regular pencil, you can use a white mechanical pencil to draw your lines and easily erase afterward!
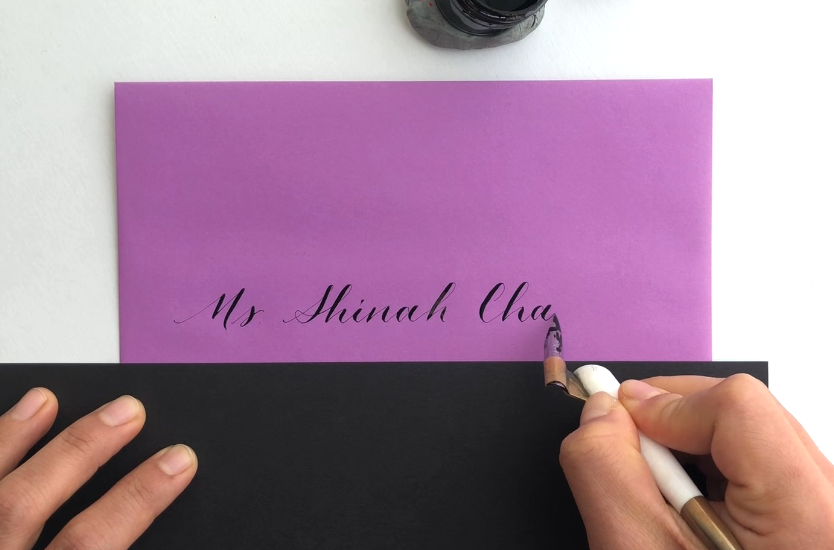
2. USE A PIECE OF PAPER AS A VISUAL GUIDE
If drawing pencil lines is too tedious, or impossible to do on your medium, then try using a regular piece of paper in a contrasting color as a visual guide.
The trick here is to keep the piece of paper UNDER your baseline, so you have room to place your descending loops. You’re not going to get an exact baseline, but you can use the edge of the contrasting paper to guide your eye, so that you can keep your writing fairly straight.
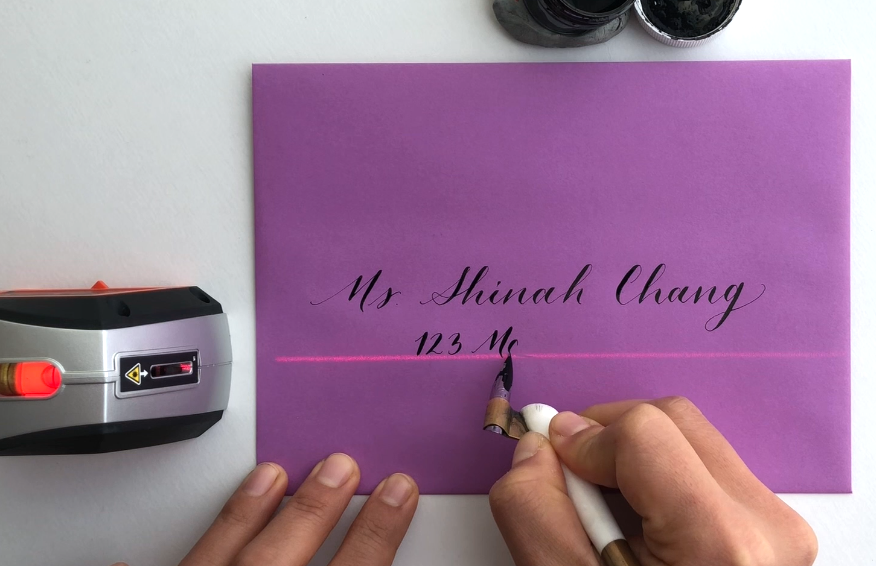
3. USE LASER LINES
You can use a simple, free-standing Black & Decker laser level for quick, occasional jobs.
OR, if you’ll be doing longer jobs and want a laser that stays straight, lined-up and locked, I like the “W R Memory Keepers” Laser Square & Mat.

4. USE LAYOUT BOND OVER GUIDELINES

If you’re just sketching, or practicing, or if you will be digitizing your final design, then you can use Layout Bond Paper or Marker Paper.
Both are translucent papers that take calligraphy ink well, so you can lay it over guidelines and see clearly through so you can write on a straight line. (DO NOT buy Tracing Paper - it does not work well with calligraphy ink at all)
You can also use Layout Bond or Marker Paper to trace over a design, refine sketches, and tweak layouts. It also scans really well, so it’s great for work you will be digitizing.
5. USE A LIGHTPAD TO SEE GUIDELINES
If you want to create a final piece on light paper that is thicker, then you can use a lightpad. The surface of the lightpad glows, so that you can see guidelines underneath even heavy cardstock.
There are super affordable options on the market now. But, if you think you’ll be using your lightpad frequently, then it might be worth investing in a more sturdy Huion model.
I hope those tips help you on your calligraphy journey!

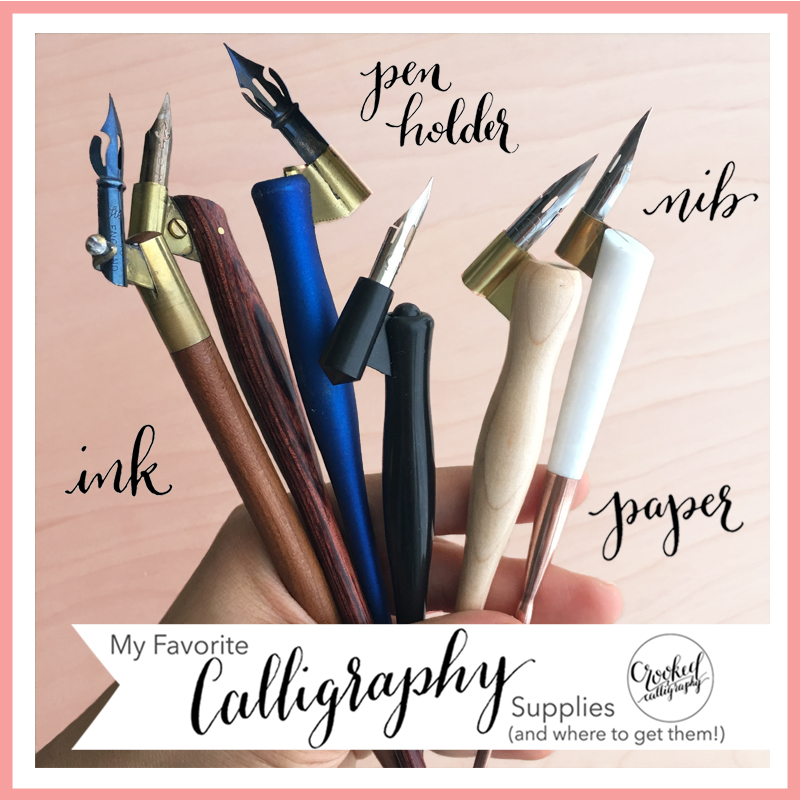
WANNA IMPROVE YOUR CALLIGRAPHY?
Well, first things first - make sure you're using the right tools! Don't waste your time and money buying the wrong shit!
Enter your info below to join my calligraphy learning email list - as a bonus, you'll get a FREE PDF of my favorite pens, nibs, inks and papers - with CLICKABLE LINKS - so you have all the info you need to get started right.
I'll send occasional, non-annoying emails with calligraphy tips, special offers and updates about my online courses!